The first time I mixed my own garden soil, I did it out of frustration more than curiosity. I’d bought three bags of “premium” potting mix from a big box store, planted a row of tomatoes, and watched them sit there sulking for weeks while the water either drained straight through or pooled on top like the bag was mostly clay. That’s when I started asking gardeners at the local nursery what they actually used, and the answer was almost always some version of “I make my own.”
If you’ve landed here, you’re probably somewhere on that same path. Maybe you’re tired of buying bag after bag of mix that doesn’t perform the way it promises. Maybe you’ve got raised beds to fill and the cost of store-bought soil is starting to look absurd. Or maybe you just want more control over what your plants are actually growing in. Whatever brought you here, this guide will walk you through building your own soil mix from scratch, tailored to what you’re actually growing, without needing a soil science degree to do it.
Why Bother Making Your Own Soil Mix?
Store-bought bags are convenient, but convenience comes with tradeoffs. Bagged mixes are often built for shelf stability and broad appeal rather than for your specific plants, your specific climate, or your specific containers. A mix that works fine for a shallow flower pot on a porch in Arizona is going to behave completely differently in a deep raised bed in Oregon.
There’s also the cost angle. If you’re filling more than a couple of containers, buying bagged soil adds up fast. A 20-gallon raised bed can eat through two or three large bags easily, and prices for quality mix keep climbing. Buying ingredients in bulk and blending your own almost always works out cheaper per cubic foot, sometimes by half or more depending on where you source materials.
And then there’s the control factor, which honestly is the part that hooked me. When you build your own mix, you decide the drainage rate, the nutrient load, the water retention, all of it. You’re not guessing based on a bag label that says “enriched with nutrients” without telling you which nutrients or how much.
Understanding What Soil Actually Needs to Do
Before touching a single ingredient, it helps to understand what a good soil mix is actually accomplishing. It’s doing four jobs at once: anchoring roots, holding water long enough for roots to absorb it, letting excess water drain so roots don’t rot, and supplying nutrients (or at least not blocking them).
Most soil problems trace back to getting the balance between water retention and drainage wrong. Too much retention and roots suffocate in soggy, oxygen-starved soil. Too much drainage and the plant dries out before it can take up what it needs. The ingredients you choose are essentially tools for dialing in that balance.
The Core Ingredients You’ll Actually Use
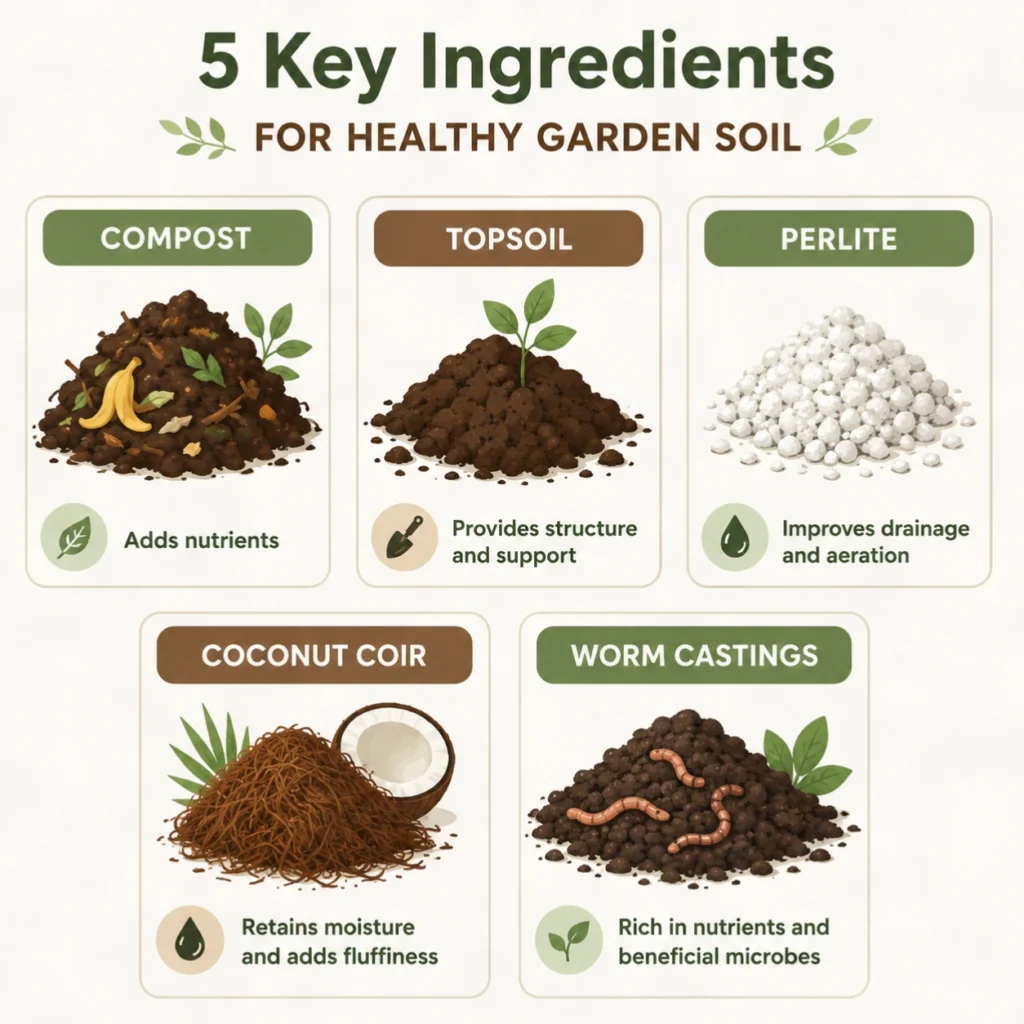
You don’t need twenty different amendments sitting in your shed. Most reliable soil mixes are built from a handful of components, each doing a specific job.
Compost
Compost is the backbone of most homemade mixes. It adds organic matter, feeds beneficial microbes, and improves both water retention and drainage at the same time, which sounds contradictory until you’ve seen it in action. Good compost has a crumbly, dark texture and smells earthy, not sour or ammonia-like.
You can make your own from kitchen scraps and yard waste, or buy it in bulk from a local supplier. If you’re buying, ask what went into it. Compost made from municipal green waste can vary a lot in quality compared to compost from a dedicated composting operation.
Topsoil or Garden Soil
This provides mineral content and some structure, but on its own it’s usually too dense for containers. Topsoil quality varies wildly depending on where you get it, so if you’re sourcing it locally, look at the texture before buying. It should crumble in your hand, not clump into a solid ball or turn to dust.
Perlite or Pumice
These are the little white or gray specks you see in bagged potting mix. Perlite is a volcanic glass that’s been heated until it pops, similar to popcorn, and it creates tiny air pockets in the soil that improve drainage and aeration. Pumice does something similar but is heavier and doesn’t float to the top of pots the way perlite sometimes does.
Coconut Coir or Peat Moss
Both of these hold water incredibly well while still allowing airflow. Coconut coir has become the more popular choice in recent years because it’s a byproduct of the coconut industry rather than a harvested resource, and it holds up better over multiple growing seasons without breaking down as fast as peat.
Vermiculite
Vermiculite holds even more water than coir or peat and is often used in smaller amounts to boost moisture retention in mixes meant for thirstier plants or hotter climates.
Worm Castings
If you want a natural nutrient boost without synthetic fertilizer, worm castings are hard to beat. They’re gentle enough that you won’t burn young roots, and they introduce beneficial microbial activity into the mix.
Building Your Base Mix
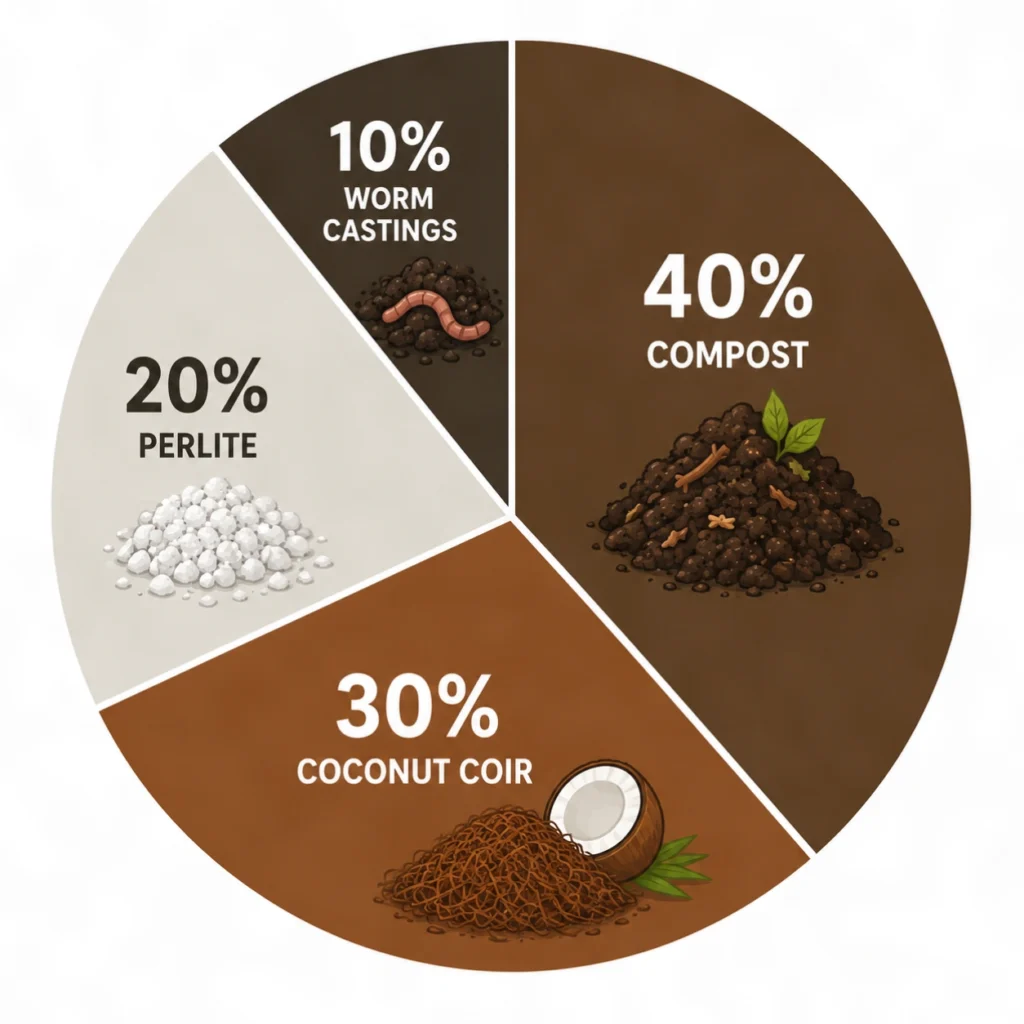
Here’s a general-purpose recipe that works well for most vegetables, flowers, and container plants. Think of this as your starting formula, not a rigid rulebook.
- 40% compost
- 30% coconut coir or peat moss
- 20% perlite or pumice
- 10% worm castings
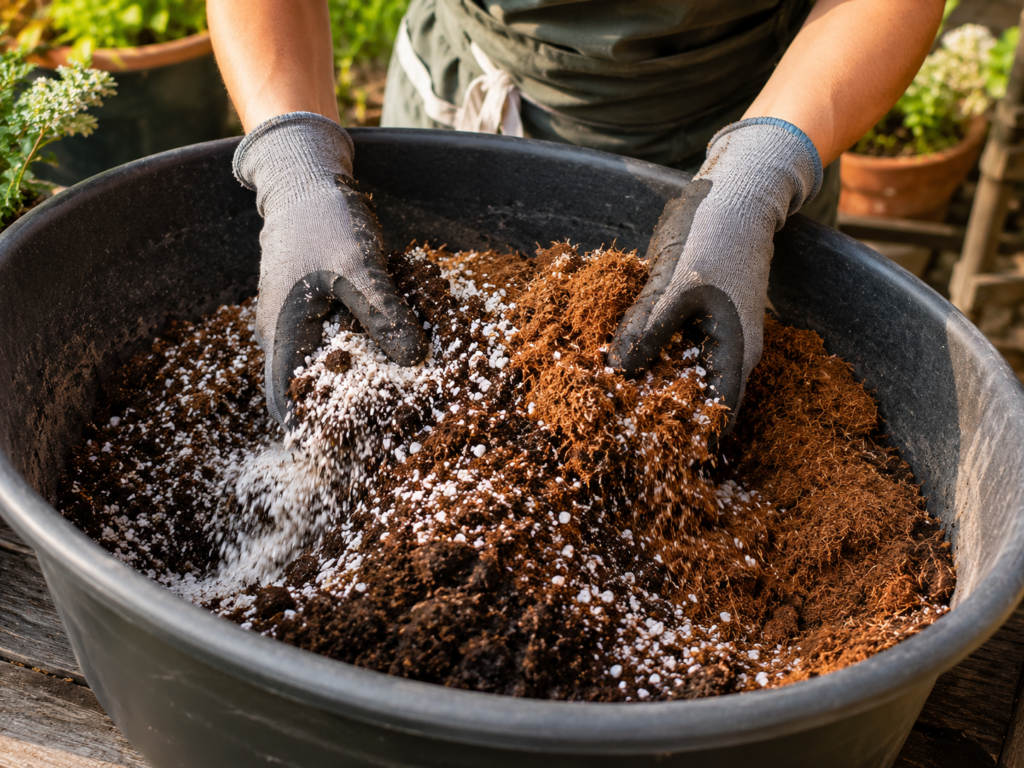
Mix these together in a wheelbarrow, large tub, or tarp spread on the ground. Add water gradually while mixing so everything absorbs moisture evenly rather than clumping in dry pockets. The finished mix should feel damp like a wrung-out sponge, never soggy.
That said, different plants have genuinely different needs, and adjusting this base ratio is where homemade soil really pulls ahead of anything you’d buy pre-bagged.
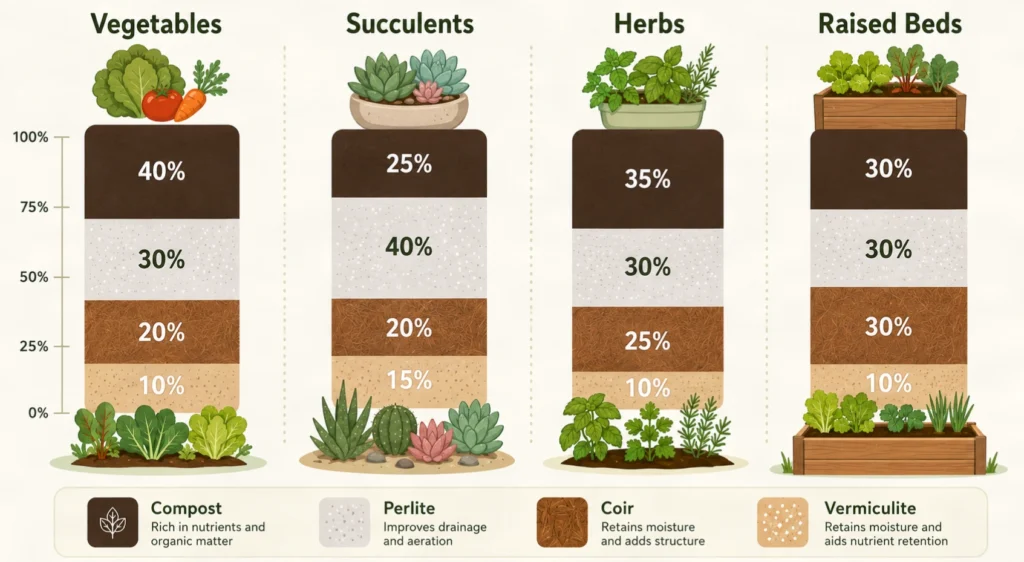
Adjusting the Mix for Specific Plants
For Vegetables and Tomatoes
Vegetables are hungry, thirsty plants that benefit from a slightly richer mix. Bump the compost up to around 45% and add an extra handful of worm castings per container. Tomatoes in particular appreciate deep, well-draining soil since they’re prone to root rot if water sits too long around the base.
For Succulents and Cacti
These plants hate wet feet. Flip the ratio so perlite or pumice makes up closer to 40-50% of the mix, and cut the compost and coir down significantly. A common succulent mix looks like:
- 50% perlite or pumice
- 30% coarse sand
- 20% compost
The goal here is fast drainage above almost everything else.
For Herbs
Most herbs, especially Mediterranean ones like rosemary, thyme, and lavender, prefer soil on the leaner and better-draining side. A mix similar to the succulent ratio but slightly richer works well:
- 40% compost
- 30% perlite
- 30% coir
For Raised Beds
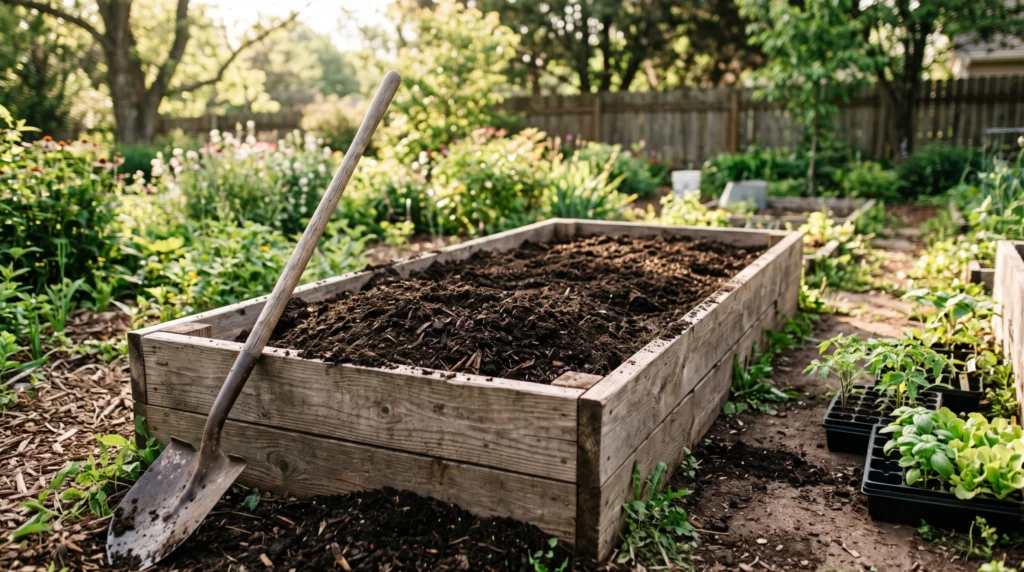
Raised beds are a different animal because you’re often filling a much larger volume, and the soil needs to support plants over multiple seasons without compacting. A popular approach, sometimes called the “Mel’s Mix” method from square foot gardening, uses:
- 1/3 compost (ideally from several different sources for nutrient diversity)
- 1/3 peat moss or coir
- 1/3 coarse vermiculite
This blend stays light, drains well, and holds nutrients better than a straight garden soil fill.
Testing Your Mix Before You Commit
Once you’ve blended a batch, it’s worth doing a couple of quick checks before filling every pot in sight.
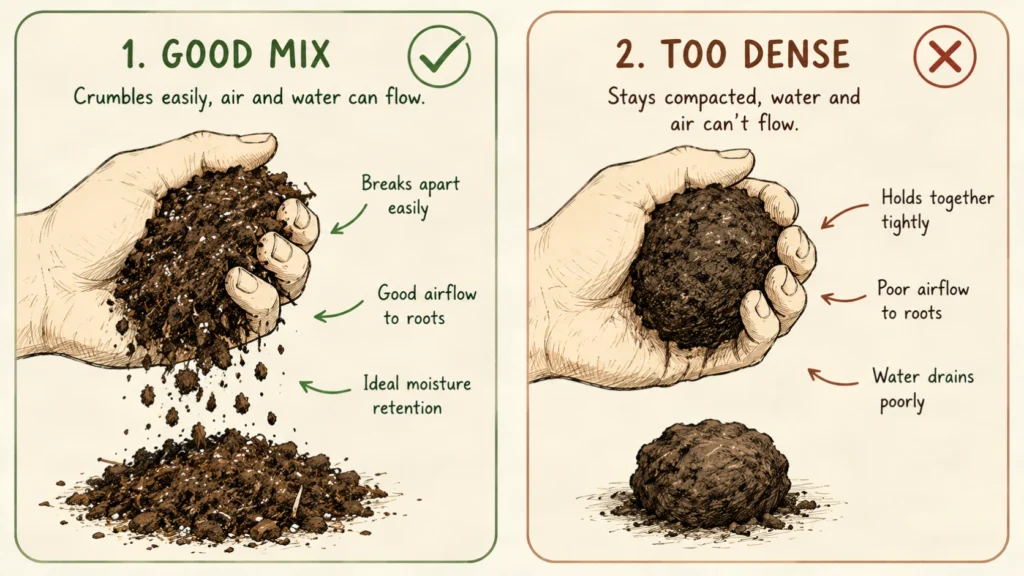
Squeeze a handful of the moistened mix. It should hold its shape loosely and then crumble apart with light pressure. If it stays in a tight ball, you’ve got too much clay or compost relative to drainage material. If it falls apart completely and won’t hold any shape at all, it needs more compost or coir to bind it.
You can also do a simple drainage test by filling a small pot with your mix, watering it thoroughly, and timing how long it takes to drain through the bottom. Somewhere between a few seconds and a minute or two is typical for most general-purpose mixes, though succulent blends should drain even faster.
Common Mistakes People Make
I’ve made most of these myself, so consider this the shortcut version of learning through trial and error.
Using straight garden soil in containers is probably the most common one. Native soil, even good soil, tends to compact heavily once it’s confined in a pot, cutting off oxygen to the roots. It needs to be cut with lighter materials to work in containers.
Skipping the moisture test before planting is another. A mix can look perfect dry and then behave completely differently once wet. Always moisten and test before committing a whole bed or a dozen pots to it.
Overloading on nutrients is a sneaky one too. More compost or worm castings isn’t automatically better. Too much nitrogen-rich material can actually burn seedlings or push plants toward excessive leafy growth at the expense of flowers or fruit.
And finally, ignoring your local climate. A mix that works beautifully in a humid coastal region might dry out too fast in a dry inland climate, or the reverse. Adjust water-retaining ingredients like coir and vermiculite up or down based on how quickly things dry out where you live.
Sourcing Your Ingredients Without Overspending
Buying bagged compost, perlite, and coir individually from a garden center can still add up if you’re not careful, so a few sourcing tips go a long way.
Bulk suppliers, often listed as “soil yards” or landscape supply companies, sell compost and topsoil by the cubic yard for a fraction of the bagged price if you’re filling large beds. Local municipalities sometimes offer free or cheap compost made from collected yard waste, which is worth checking into.
For perlite and vermiculite, buying the largest bag available usually brings the per-unit cost down substantially, and these materials don’t degrade over time, so there’s no downside to stocking up. Coconut coir is often sold in compressed bricks that expand significantly when soaked in water, and a single brick can go much further than it looks like it will on the shelf.
Storing Leftover Mix
If you’ve made more than you need right now, store it in a covered bin or heavy-duty bag out of direct sun and rain. Dry ingredients like perlite and vermiculite store indefinitely, but once compost and coir are mixed and moistened, try to use the batch within a few months for best results, since the organic matter continues to break down over time and the nutrient profile shifts.
A Quick Note on Sterilizing Soil
If you’re reusing soil from old pots or bringing in garden soil that might carry pests or weed seeds, some gardeners choose to solarize it by spreading it thinly on a tarp in full sun for a few weeks, or baking small batches in an oven at a low temperature. This isn’t necessary for fresh bagged compost or coir, but it’s worth knowing about if you’re repurposing soil from a source you’re unsure about.
As one longtime nursery owner told me once while I was loading bags of perlite into my car, “the soil does most of the work before the plant ever does.” That stuck with me more than any fertilizer label ever has.
Putting It All Together
Making your own garden soil mix isn’t complicated once you understand the roles each ingredient plays. Compost feeds and structures. Coir or peat retains moisture. Perlite or pumice keeps things breathing. Worm castings add a gentle nutrient boost. From there, it’s just a matter of shifting the ratios to match what you’re growing and where you’re growing it.
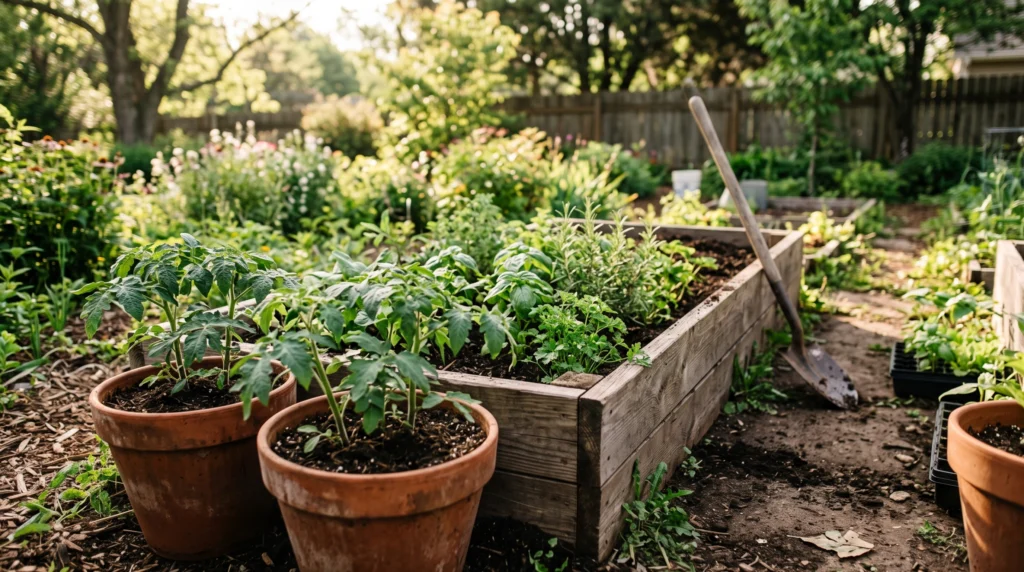
Start with a basic batch, test it with your hands and a watering can, and adjust from there based on how your plants respond over the first few weeks. Soil mixing is one of those skills that gets easier with repetition, and within a season or two you’ll likely find yourself eyeballing ratios instead of measuring, the same way you’d season a dish you’ve cooked a hundred times.